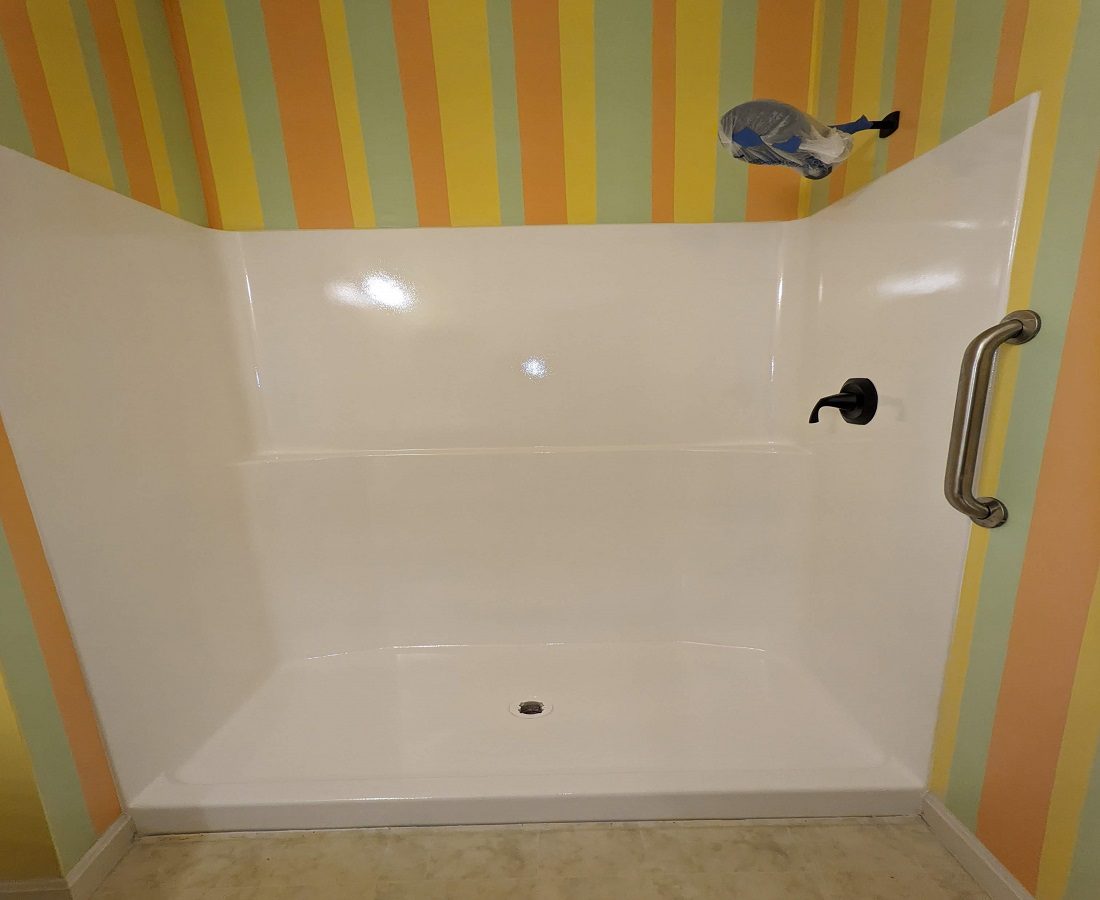
How To Resurface A Bathtub- A Step-By-Step Guide

DIY tub resurfacing has been attempted as a method to restore your tub without breaking the bank, whether you might be in the middle of a whole bathroom makeover or your bathtub simply looks worn out. DIY tub resurfacing can give a significant visual improvement that you may repeat as often as necessary but is not a long-term fix for persistent bathtub problems. Properly resurfacing your bathtub is a far more affordable option in the long run if it is discolored, rather than completely replacing it or relining it. It is frequently the only way to prolong the lifespan of an antique bathtub.
We caution against trying to use a DIY refinishing kit. There are numerous bathtub restoration companies in your area, but many try to buy a glaze or epoxy kit that comes with everything you need to make your tub appear new and welcoming again. The easiest and least expensive method to try to give your bathtub a fresh look, is not as simple as many believe. The DIY kits will say, it is a simple task that does not necessitate too much prior knowledge. In this article, we at Tub Coaters will teach you how to resurface a bathtub, the way a real professional does it.
Ventilate Your Bathroom
We have to be careful to ventilate air in your bathroom since the resurfacing procedure will produce possible sanding dust and paint dust that, at high enough levels, might become smell up your home. We carry several exhaust blowers, we turn it on and then proceed to open all of your window in the bathroom. In the event that the required airflow cannot be achieved, a mobile ventilation system must be used.
Preparation of Your Tub
You must prepare the tub before putting on the new coating. We must verify that the tub drainage system is operational. We ofter have to use a putty knife, take away any remaining grout and caulk from the bathtub along with any debris. We must clean the bathtub completely using an abrasive chemical and, if necessary, water and strong cleaner to remove any mildew residues.
We must finish by wiping away any remaining grease with a solvent, such as acetone or thinners; just be cautious not to combine any chemicals and be sure to completely cleanse your tub after each application. We must wash it with water after it is clean, and then completely dry it using a clean cloth. Before continuing, we have to patch up any cracks or chips in the bathtub and allow the patching material to completely dry.
Get the Tub’s Surfaces Ready
We must dull the previous coating and abrade the whole tub surface in order to make sure that the fresh finish is flawless. DYI kit instructions will not tell you this although this is a crucial step.
The Finishing Process
Real refinishers use a multiple-part coating. This is done by blending the catalyst and resin. We put on an even coating with a HVLP sprayer that is designed to give you at the cleanest /smoothest coating possible. This is not achieved by a simply roller. A roller would result in a terrible looking, bumpy surface full of debris. We start with the tub’s edges, then begin to descend the horizontal deck until we reach the basin’s bottom. We allow the initial coating to dry in accordance with the system’s recommendations. Some systems call for a one- to two-hour delay before re-coating with the next three coats, while others do not. Ours in special as the whole process is done in 3-5 hours for a normal sized tub.

